Overview
Profile fields are the building blocks of every member record in Disco. They control what gets asked during registration and onboarding, what members see on each other’s profiles, and what data admins can access for operations and automation. Profile field configuration is not cosmetic — it directly affects onboarding tasks, member filtering, group assignment, and workflow triggers. Every Academy has standard fields by default, and admins can extend those with custom fields tailored to their program.Access Profile Fields
Profile field configuration lives in the admin area under Members, not in any individual member’s personal profile settings.- Go to Admin.
- In the sidebar, select Members.
- Click Profile Fields.
Configure Standard Profile Fields
Standard profile fields come with every Disco Academy. Not all of them can be edited. Some fields are permanently locked because the product depends on them:- Email Address is always captured during registration and cannot be turned off.
- Local Timezone is always captured to support time-aware features.
- Public Groups is managed by admins and is not configurable like other fields.
Create a Custom Profile Field
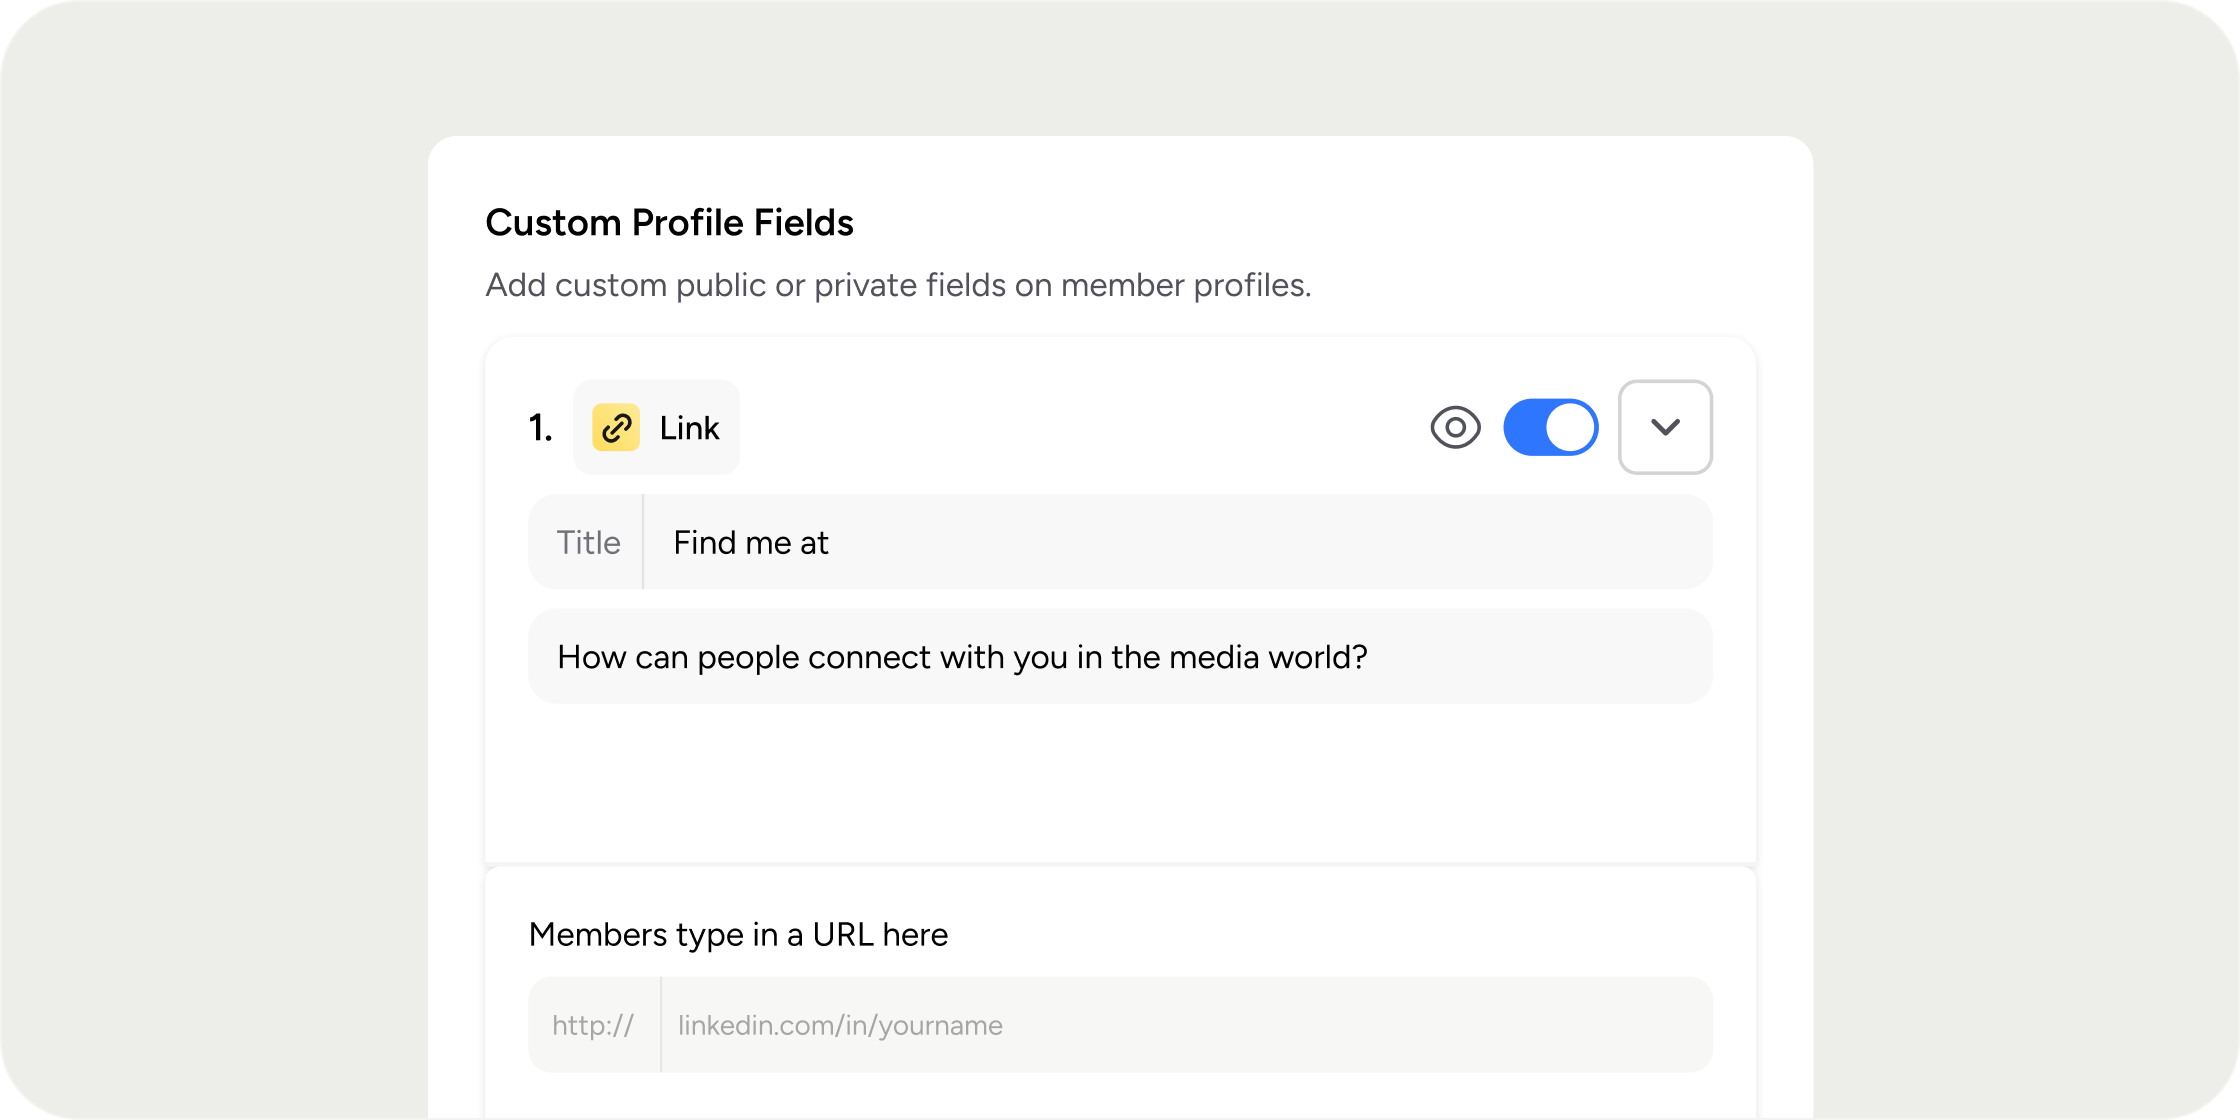
Custom profile fields let you collect information specific to your program or Academy. When you add a new field, Disco first asks you to choose a field type.- On the Profile Fields page, click the button to add a new custom field.
- Select a field type from the dropdown:
- Single Select
- Multiple Select
- Written Answer
- Link
- Enter a field name. Names must be unique, cannot be blank, and cannot exceed 50 characters.
- Define the question members will see.
- Set the field’s privacy and visibility status.
- Click Save Changes.
Set Field Privacy and Visibility
Each custom field has two controls that determine how it behaves: privacy and visibility. Public fields appear on the member’s profile and are visible to other members in the Academy. Admins can also see public fields. Private fields do not appear on the public profile. They are visible to admins only, but members can still fill them in. Hidden fields are effectively turned off. Disco treats them as not being captured, and they do not behave like active profile fields. In the editor, hidden fields are visually de-emphasized and some editing controls are reduced until the field is turned back on.Delete a Custom Profile Field
Deleting a custom field is permanent. If the field already has member submissions, Disco shows a stronger warning before you confirm.- Open the field you want to remove.
- Select the delete option.
- Review the confirmation modal. If the field has existing responses, the modal explicitly states that associated member data will also be deleted.
- Confirm the deletion.
Connect Profile Fields to Onboarding
Custom profile fields and onboarding are linked, but managed separately. When you create a new custom field and member onboarding is already active, Disco automatically creates a matching onboarding item for that field. That onboarding item starts in draft state and is not turned on automatically. Go to Admin > Members > Onboarding to review and activate it. If you change a visible custom field to hidden, Disco automatically disables the corresponding onboarding item. This prevents onboarding from prompting members to complete a field you have decided not to capture.Use Profile Fields in Automations
Profile field answers can trigger automated workflows. This is one of the most powerful ways to use profile data. To automatically add members to a group based on a profile answer:- Create a custom field such as Location, Role, Department, or Cohort. Use Single Select or Multiple Select for predictable values.
- Include the field in onboarding if you want the answer collected early in the member journey.
- Go to Admin > Automations.
- Start with the Group members template or build a custom automation.
- Add a condition such as Location is exactly Berlin or Cohort contains Spring 2026.
- Set the action to Add to group.
- Save and activate the automation.
Filter Members by Profile Field
Profile fields make the member list more operational. From Admin > Members, you can filter by profile field answers to find specific segments of your membership. Single Select and Multiple Select fields produce the most reliable filter results because their values are consistent and predictable. Written Answer fields are harder to filter accurately. Private-field filtering is visible only to admins with permission to read private profile data.Plan Your Field Strategy
Profile fields work best when planned around how the data will be used downstream, not around aesthetics alone. Public fields for the member directory help members understand each other and make the directory more browseable. Common examples: Location, Role, Company, Areas of Expertise, and What are you hoping to learn?. Private fields for admin operations let you store internal data without exposing it to members. Common examples: internal notes, account owner, contract tier, membership type, manual review status, and compliance details. Fields that power automations should use structured types with controlled answer options so that automation rules match reliably.FAQ
Can I make a profile field required?
Can I make a profile field required?
No. You cannot mark a profile field as required from the Profile Fields page. If you need members to complete a field, include it as an onboarding step and enable the Mandatory member onboarding setting in the Onboarding area.
Why are some standard fields locked and cannot be edited?
Why are some standard fields locked and cannot be edited?
Fields like Email Address, Local Timezone, and Public Groups are locked because Disco depends on them for core functionality. The tooltip on each locked field explains the specific reason.
If I hide a custom field, what happens to the data members already submitted?
If I hide a custom field, what happens to the data members already submitted?
Hiding a field turns it off for future capture and removes it from active use, but it does not delete existing data. Deleting the field permanently removes both the field and all associated member responses.
Can I reorder custom profile fields?
Can I reorder custom profile fields?
Yes. Each custom field has an ordering position that you can adjust to control how fields appear on the profile.
Will new custom fields automatically appear in onboarding?
Will new custom fields automatically appear in onboarding?
New custom fields create matching onboarding items in draft state when onboarding is already active, but those items are not turned on automatically. You need to activate them from Admin > Members > Onboarding, inside Step 4.