How It Works
Tags are created and managed by Admins from either the Admin area or directly within the Product Settings drawer. Tags are applied to products from the Product Settings drawer and are only visible to Admins in the backend. Members do not see tags on the product itself, but can use tags to filter content on the Explore page for a more personalized browsing experience.How To Create and Apply Tags to Products
In the Admin Area:- Navigate to Settings > Tags.
- Click “Add Tag” to create your first tag.
- Enter in the tag name and click “Add” or press Enter to save.
- All tags appear in the Tags table. Use the top-right button to add more tags or the 3-dot icon to delete a tag.
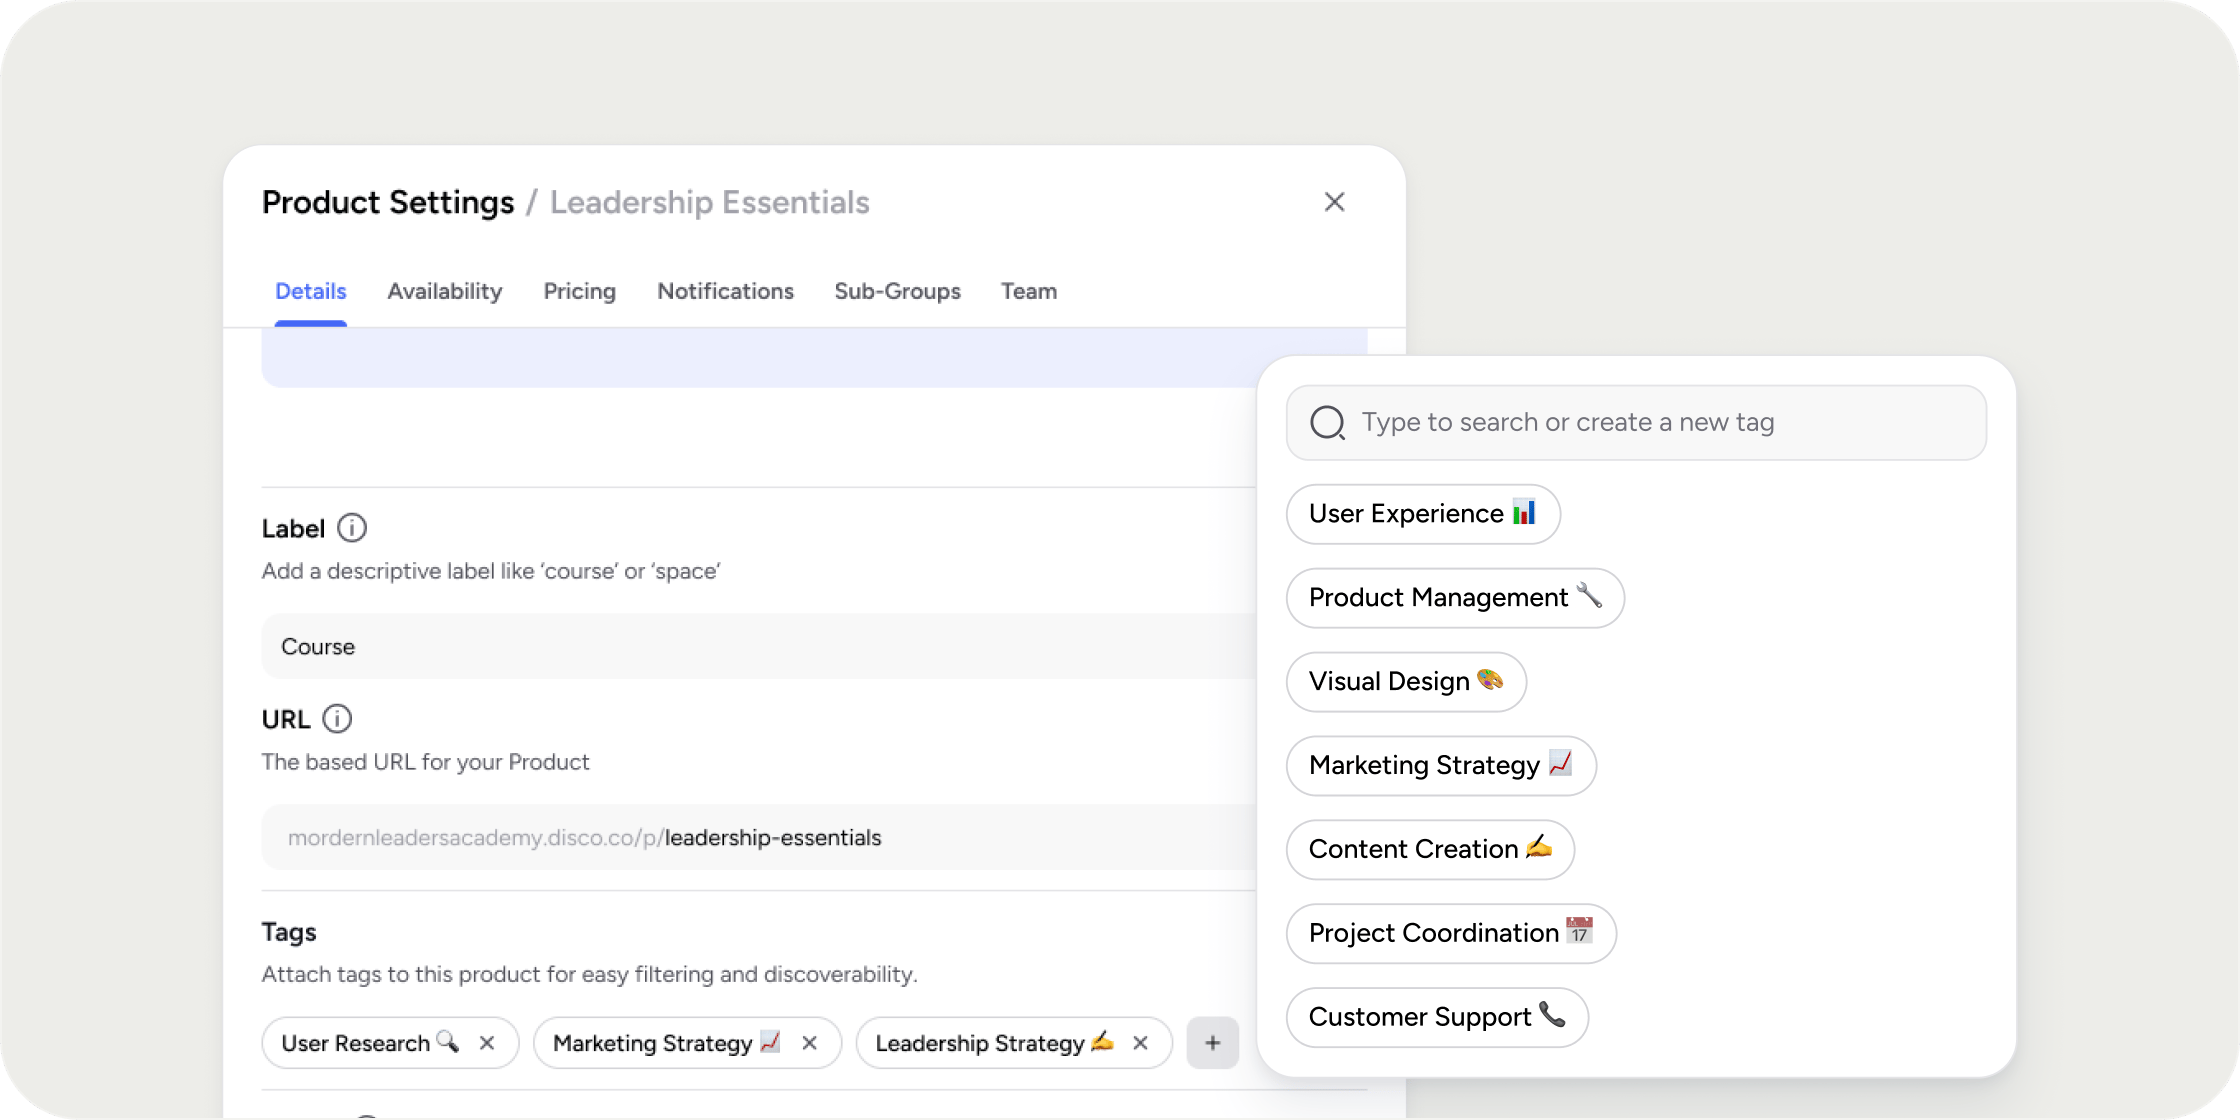
- Open the settings drawer of the product to be tagged.
- In the Details tab, scroll to the Tags section.
- Click ‘Add Tag’ to open the tag picker.
- If tags have been created, select tag(s) from the picker.
- If no tags exist, or a new tag needs to be added for this product, type to create new ones.
- Click the “Save” button at the bottom of the drawer.
Important Considerations
- Tags are currently supported for Products only.
- Members can filter by tags on the Explore page, but cannot view or manage the tags themselves.
FAQs
Can tags be added to content, posts, or events?
Can tags be added to content, posts, or events?
Where can Members see tags?
Where can Members see tags?
Can multiple tags be applied to a single product?
Can multiple tags be applied to a single product?
Do tags impact search results?
Do tags impact search results?
Can tags be renamed?
Can tags be renamed?