> ## Documentation Index
> Fetch the complete documentation index at: https://docs.disco.co/llms.txt
> Use this file to discover all available pages before exploring further.
# Media Assets
Media Assets is the centralized media library that stores all images, videos, audio files, and documents used across your Academy.
 ## **Overview**
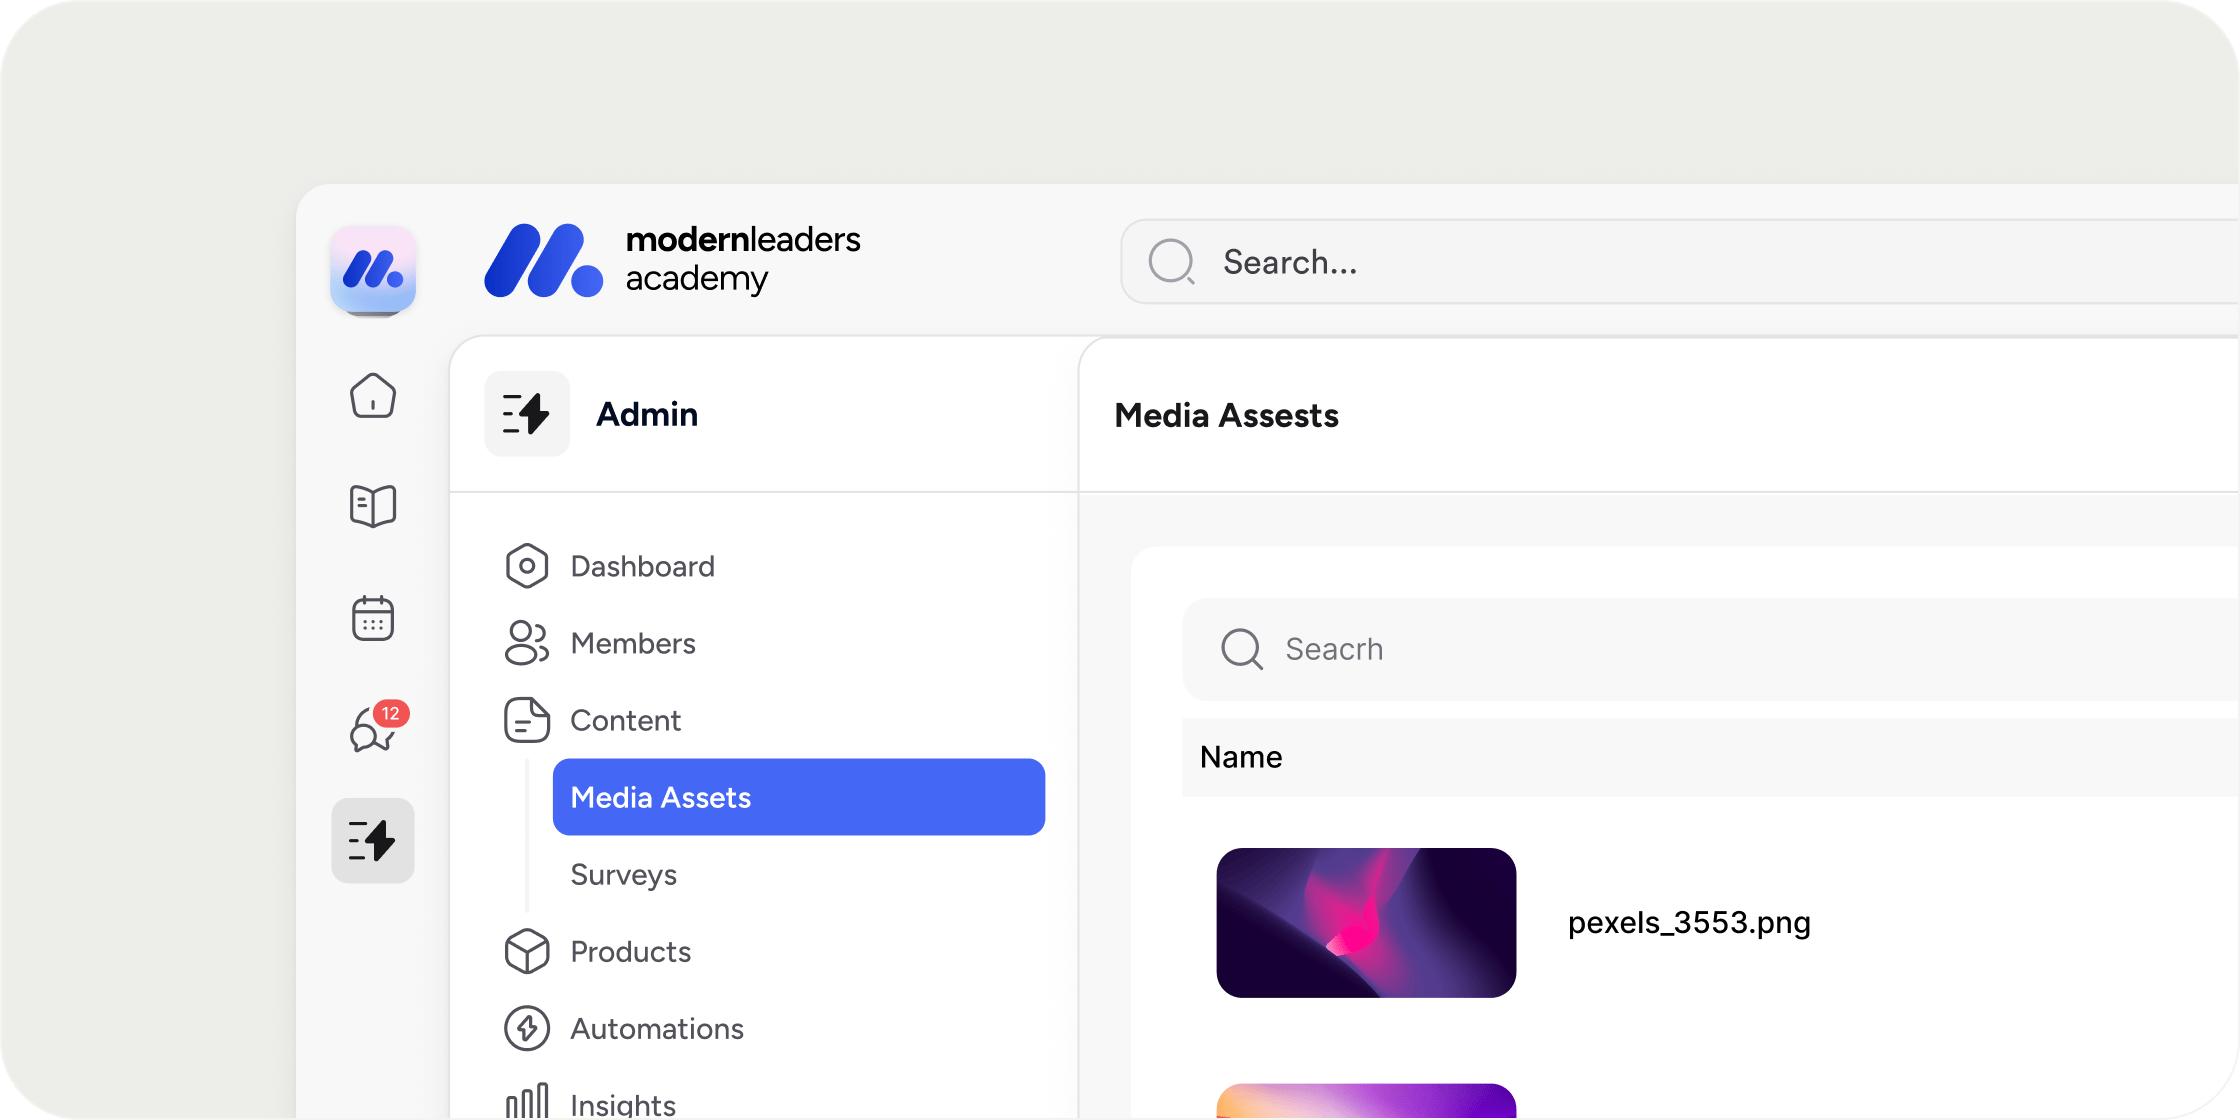
Media Assets gives admins a single place to upload, manage, and reuse files across all content in your Academy. Every file you upload is stored here, whether added directly to the library or attached while building content. The library tracks how many times each asset is referenced, making it straightforward to identify and clean up files you no longer need.
## **Find Your Media Assets**
Navigate to **Admin** → **Content** → **Media Assets** from the left navigation.
The media library displays a table of all files in your Academy. For each asset you can see:
* **Name**: the file's display name
* **Size**: the file size
* **Kind**: the file type (image, video, audio, document)
* **Used**: the number of times the asset is referenced across your Academy
From the overflow menu on any row, you can **Rename**, **Download**, or **Delete** the file.
## **Filter and Sort Your Media Library**
Use the toolbar at the top of the table to filter the library to a specific file type: **Images**, **Video**, **Audio**, or **Documents**.
Sort the table by any column: **Name**, **Size**, **Used**, or **Upload Date**. Use the **Used** column to quickly identify assets that are actively in use or sitting unused.
## **Upload Media Assets**
You can add files to your media library in two ways: directly from the Media Assets page, or inline while creating content.
### **Upload from the Media Assets page**
1. Go to **Admin** → **Content** → **Media Assets**.
2. Click **Add Media**.
3. Select one or more files from your file explorer.
The files are added to your library immediately and are available for reuse anywhere in your Academy.
### **Upload while creating content**
When building any piece of content in Disco, you can upload or select media files inline without leaving the editor.
1. Open any content editor. For example, click the global **+** in the bottom left and select **Lesson**.
2. Click **Cover Image**, **Cover Audio**, **Cover Video**, or **Attachment** depending on the media type you want to add.
3. In the popover that opens, drag and drop a file, click to browse your computer, or select an existing file from the grid of available assets.
Each popover filters automatically to show only the relevant file type. **Cover Image** shows images, **Cover Audio** shows audio files, **Cover Video** shows video files, and **Attachment** shows all supported file types.
Any file you upload inline is added to your media library automatically, so you can reuse it across other content later.
## **Supported File Types**
The file types available depend on the media slot you are filling.
* **Cover Images:** PNG, JPEG, GIF, and other common image formats
* **Cover Audio:** MP3, MPGA, WAV, OGG, OGA, AAC, M4A
* **Cover Video:** MP4
* **Attachments:** PNG, JPEG, GIF, MP4, MP3, CSV, TXT, MD (Markdown), PPTX (PowerPoint), XLSX (Excel), ZIP, subtitle files, and other common document and media formats
## **Crop an Image to Fit**
When you select an image that is larger than the recommended dimensions for a given placement, Disco opens a crop tool automatically. Adjust the framing in the cropper before saving to ensure the image displays correctly.
## **Generate an Image with AI**
From any **Cover Image** popover, you can generate a brand-new image using AI instead of uploading one.
1. Click **Cover Image** on any content type.
2. Click **Generate** in the popover.
3. Enter a prompt describing the image you want.
4. Select the generated image to apply it.
Generated images are saved to your media library so you can reuse them across other content.
Upload your brand assets (logos, cover templates, and background graphics) to Media Assets before you start building content. Having a curated library from day one means admins can select from existing assets without hunting through their desktop, and it keeps your Academy visually consistent from the start.
## **FAQ**
Yes. Open the overflow menu on any asset and select **Delete**. Be aware that deleting an asset that is actively referenced in content will remove it from those placements. Check the **Used** column before deleting to understand the scope of the change.
The **Used** count reflects all active references across your Academy, including cover images, lesson attachments, pinned resources, and other placements. If the count remains above zero after deleting content, the asset may still be referenced elsewhere. Search for other locations where it may have been added and remove it from those placements to clear the count.
Not currently. To remove assets with zero uses, sort the library by the **Used** column to surface unused files, then delete them individually using the overflow menu.
Folders and tags are not currently available. Use the filter and sort tools to navigate large libraries. Naming assets consistently (for example, prefixing files by project or content type) makes them easier to find when selecting from the grid in content editors.
Disco supports MP3 and other audio formats for cover audio. The **Attachment** slot accepts a broader range of file types. The supported list is shown inside each popover when you open it.
If an image appears distorted, it likely does not match the recommended dimensions for that placement. Use the built-in crop tool that appears automatically during upload to adjust the framing to fit. If the image is already placed and looks off, remove it and re-upload it to access the cropper.
Yes. Open the overflow menu on any asset in the media library and select **Rename**.
Yes. Open the overflow menu on any asset and select **Download**.
Yes. Any file you add through a content editor popover is automatically saved to your media library and available for reuse, whether uploaded from your computer or generated with AI.
## **Overview**
Media Assets gives admins a single place to upload, manage, and reuse files across all content in your Academy. Every file you upload is stored here, whether added directly to the library or attached while building content. The library tracks how many times each asset is referenced, making it straightforward to identify and clean up files you no longer need.
## **Find Your Media Assets**
Navigate to **Admin** → **Content** → **Media Assets** from the left navigation.
The media library displays a table of all files in your Academy. For each asset you can see:
* **Name**: the file's display name
* **Size**: the file size
* **Kind**: the file type (image, video, audio, document)
* **Used**: the number of times the asset is referenced across your Academy
From the overflow menu on any row, you can **Rename**, **Download**, or **Delete** the file.
## **Filter and Sort Your Media Library**
Use the toolbar at the top of the table to filter the library to a specific file type: **Images**, **Video**, **Audio**, or **Documents**.
Sort the table by any column: **Name**, **Size**, **Used**, or **Upload Date**. Use the **Used** column to quickly identify assets that are actively in use or sitting unused.
## **Upload Media Assets**
You can add files to your media library in two ways: directly from the Media Assets page, or inline while creating content.
### **Upload from the Media Assets page**
1. Go to **Admin** → **Content** → **Media Assets**.
2. Click **Add Media**.
3. Select one or more files from your file explorer.
The files are added to your library immediately and are available for reuse anywhere in your Academy.
### **Upload while creating content**
When building any piece of content in Disco, you can upload or select media files inline without leaving the editor.
1. Open any content editor. For example, click the global **+** in the bottom left and select **Lesson**.
2. Click **Cover Image**, **Cover Audio**, **Cover Video**, or **Attachment** depending on the media type you want to add.
3. In the popover that opens, drag and drop a file, click to browse your computer, or select an existing file from the grid of available assets.
Each popover filters automatically to show only the relevant file type. **Cover Image** shows images, **Cover Audio** shows audio files, **Cover Video** shows video files, and **Attachment** shows all supported file types.
Any file you upload inline is added to your media library automatically, so you can reuse it across other content later.
## **Supported File Types**
The file types available depend on the media slot you are filling.
* **Cover Images:** PNG, JPEG, GIF, and other common image formats
* **Cover Audio:** MP3, MPGA, WAV, OGG, OGA, AAC, M4A
* **Cover Video:** MP4
* **Attachments:** PNG, JPEG, GIF, MP4, MP3, CSV, TXT, MD (Markdown), PPTX (PowerPoint), XLSX (Excel), ZIP, subtitle files, and other common document and media formats
## **Crop an Image to Fit**
When you select an image that is larger than the recommended dimensions for a given placement, Disco opens a crop tool automatically. Adjust the framing in the cropper before saving to ensure the image displays correctly.
## **Generate an Image with AI**
From any **Cover Image** popover, you can generate a brand-new image using AI instead of uploading one.
1. Click **Cover Image** on any content type.
2. Click **Generate** in the popover.
3. Enter a prompt describing the image you want.
4. Select the generated image to apply it.
Generated images are saved to your media library so you can reuse them across other content.
Upload your brand assets (logos, cover templates, and background graphics) to Media Assets before you start building content. Having a curated library from day one means admins can select from existing assets without hunting through their desktop, and it keeps your Academy visually consistent from the start.
## **FAQ**
Yes. Open the overflow menu on any asset and select **Delete**. Be aware that deleting an asset that is actively referenced in content will remove it from those placements. Check the **Used** column before deleting to understand the scope of the change.
The **Used** count reflects all active references across your Academy, including cover images, lesson attachments, pinned resources, and other placements. If the count remains above zero after deleting content, the asset may still be referenced elsewhere. Search for other locations where it may have been added and remove it from those placements to clear the count.
Not currently. To remove assets with zero uses, sort the library by the **Used** column to surface unused files, then delete them individually using the overflow menu.
Folders and tags are not currently available. Use the filter and sort tools to navigate large libraries. Naming assets consistently (for example, prefixing files by project or content type) makes them easier to find when selecting from the grid in content editors.
Disco supports MP3 and other audio formats for cover audio. The **Attachment** slot accepts a broader range of file types. The supported list is shown inside each popover when you open it.
If an image appears distorted, it likely does not match the recommended dimensions for that placement. Use the built-in crop tool that appears automatically during upload to adjust the framing to fit. If the image is already placed and looks off, remove it and re-upload it to access the cropper.
Yes. Open the overflow menu on any asset in the media library and select **Rename**.
Yes. Open the overflow menu on any asset and select **Download**.
Yes. Any file you add through a content editor popover is automatically saved to your media library and available for reuse, whether uploaded from your computer or generated with AI.