> ## Documentation Index
> Fetch the complete documentation index at: https://docs.disco.co/llms.txt
> Use this file to discover all available pages before exploring further.
# Content
Content is the foundational building block of Disco that powers every lesson, assignment, quiz, survey, and task across your Academy.
 ## **Overview**
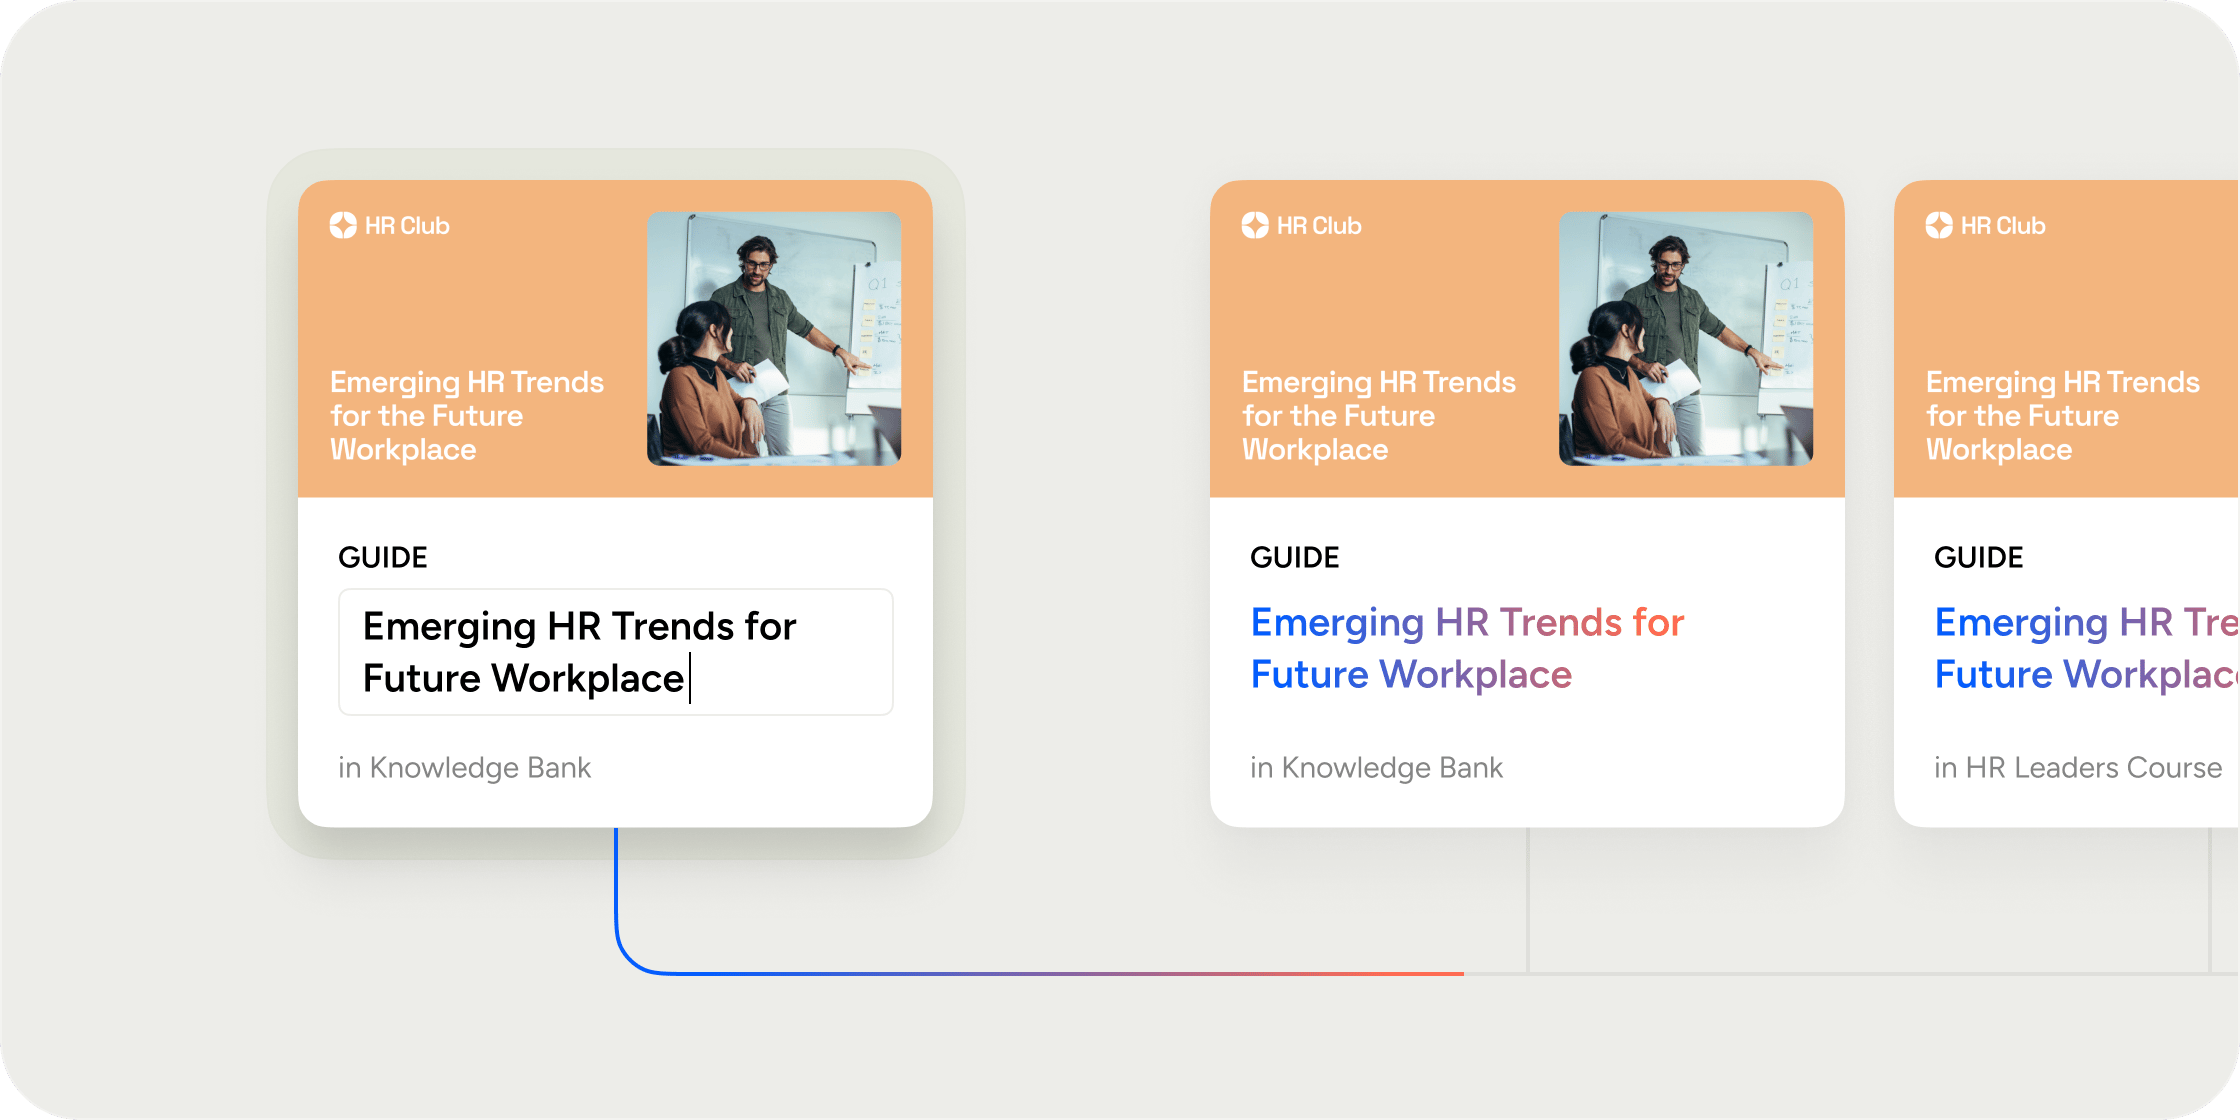
Content is Disco's central system for creating and managing reusable learning material. You create a piece of content once, add it to as many programs or collections as you need, and any edits to the original automatically apply everywhere it's used. Two types of content exist: reusable content (lessons, assignments, quizzes, surveys, tasks) that can be shared across your Academy, and non-reusable content (posts, comments) that lives in one place. Admin access is required to create and manage content.
## **Understand the Content Library**
The Content Library is your central hub for all reusable content across your Academy. Access it by navigating to **Admin Area** → **Content**.
The library displays a table with each content item's name and type label. From here you can:
* Search content by name
* Filter and sort to narrow results
* Hover over the instances count to see every program or collection where a piece of content is in use
* Select multiple items and use **Bulk Delete** to clean up content at scale
When you delete content that has multiple active instances, Disco shows an impact preview so you can see exactly what will be affected before you confirm.
## **Create Content from the Content Library**
Creating content from the library is the best starting point when you plan to reuse it across multiple programs.
1. Navigate to **Admin Area** → **Content**.
2. Select **Add Content**.
3. Choose a content type: Lesson, Assignment, Quiz, Survey, or Create with AI.
4. Add a title and description using the rich text editor. Type / to access block commands, embed media inline, or mention events, programs, or other content.
5. Add a **Featured Media** to the top of your content. See the “Featured Media for Lesson Content” section below.
6. Upload any attachments and reorder or remove them as needed.
7. Under the content **Settings**, add a custom label if your Academy uses different terminology. Labels are cosmetic, they indicate what the content is called but not how it behaves.
8. Add a custom thumbnail if you want a distinct image to appear in content listings.
9. Select **Save**.
10. Add Content as instance to:
* a Program > Curriculum > Module
* a Collection app > under a Folder
### **Add Existing Content to a Program or Collection**
Once content exists in your library, you also add it to from within a program or collection app:
1. Open the program or collection where you want to add the content.
2. Navigate to the **Curriculum** app or **Collection** app.
* If you're working in a curriculum, select or create a module first.
3. Select **Add New > From Existing Content**.
4. Find the existing content item and select **Use**.
5. Navigate to the specific instance and adjust any instance-level settings, such as enabling comments or adding prerequisites.
6. Select **Save** to apply the instance settings.
Each placement is its own instance. Editing the original content in the library updates all instances. Instance-specific settings remain unique to each instance. You can add more instances at any time using the same **Add Content** modal.
## **Create NEW Content from Inside a Program**
You can create new content directly within a program or collection without going to the library first.
1. Open the program and navigate to the **Curriculum** app or **Collection** app.
2. Select or create a module if you're in the curriculum.
3. Select **Add New** or a **“+”** icon from a module.
4. Choose a content type:
* Content: Lesson, Assignment, Quiz, Survey
* Product Tasks: Complete Profile, Event RSVP, Connect Slack
* Create with AI.
5. Add a title, upload media, and use the rich text editor to build the content.
6. Upload any attachments and reorder or remove them as needed.
7. Configure settings such as prerequisite, content label, thumbnail,...
8. Select **Save**. The content is created and added to the program simultaneously.
## **Featured Media for Lesson Content**
For each Lesson Content, you have a choice of featuring a media on top of the lesson as a cover. This can be:
* An image, a video, or an audio uploaded from your device.
* An image using our branded template, generated with AI, or from Unsplash.
* A SCORM .zip file
* An embed hosted on various sources, such as: YouTube, Loom, Google Doc, Typeform, Miro, PDFs, and many more.
* A custom HTML or generic iFrame code.
Build your content in the central library first, even if you only plan to use it in one place today. Reusable content is much easier to manage at scale, you edit once and every instance stays current. Creating content directly inside a program works well for quick additions, but it's harder to find and reuse later.
## **FAQ**
Reusable content, including lessons, assignments, quizzes, surveys, and tasks, can be shared across multiple programs and collections as instances. Non-reusable content, like posts and comments, lives in one place and cannot be shared this way.
No. Edits to the root content (title, description, media) update across all instances. Settings you configure at the instance level, such as prerequisites or comment toggles, remain unique to each instance.
No. Content type is set at creation and cannot be changed afterward. If you need a different type, create a new content item.
Not yet. Each location has one template designed for its dimensions and layout. You can update your brand color in **Admin Area** → **Appearance** → **Theme** → **Primary Color**. Changing your brand color will not automatically regenerate images that were already created. But we made it easy for you to regenerate easily in each content by just clicking a button.
Disco shows an impact preview listing every instance that will be affected. Review it before confirming the deletion, as removing the root content removes it from all instances.
Yes. In the Content Library, hover over the instance count next to any content item to see a list of every program and collection where it currently appears.
## **Overview**
Content is Disco's central system for creating and managing reusable learning material. You create a piece of content once, add it to as many programs or collections as you need, and any edits to the original automatically apply everywhere it's used. Two types of content exist: reusable content (lessons, assignments, quizzes, surveys, tasks) that can be shared across your Academy, and non-reusable content (posts, comments) that lives in one place. Admin access is required to create and manage content.
## **Understand the Content Library**
The Content Library is your central hub for all reusable content across your Academy. Access it by navigating to **Admin Area** → **Content**.
The library displays a table with each content item's name and type label. From here you can:
* Search content by name
* Filter and sort to narrow results
* Hover over the instances count to see every program or collection where a piece of content is in use
* Select multiple items and use **Bulk Delete** to clean up content at scale
When you delete content that has multiple active instances, Disco shows an impact preview so you can see exactly what will be affected before you confirm.
## **Create Content from the Content Library**
Creating content from the library is the best starting point when you plan to reuse it across multiple programs.
1. Navigate to **Admin Area** → **Content**.
2. Select **Add Content**.
3. Choose a content type: Lesson, Assignment, Quiz, Survey, or Create with AI.
4. Add a title and description using the rich text editor. Type / to access block commands, embed media inline, or mention events, programs, or other content.
5. Add a **Featured Media** to the top of your content. See the “Featured Media for Lesson Content” section below.
6. Upload any attachments and reorder or remove them as needed.
7. Under the content **Settings**, add a custom label if your Academy uses different terminology. Labels are cosmetic, they indicate what the content is called but not how it behaves.
8. Add a custom thumbnail if you want a distinct image to appear in content listings.
9. Select **Save**.
10. Add Content as instance to:
* a Program > Curriculum > Module
* a Collection app > under a Folder
### **Add Existing Content to a Program or Collection**
Once content exists in your library, you also add it to from within a program or collection app:
1. Open the program or collection where you want to add the content.
2. Navigate to the **Curriculum** app or **Collection** app.
* If you're working in a curriculum, select or create a module first.
3. Select **Add New > From Existing Content**.
4. Find the existing content item and select **Use**.
5. Navigate to the specific instance and adjust any instance-level settings, such as enabling comments or adding prerequisites.
6. Select **Save** to apply the instance settings.
Each placement is its own instance. Editing the original content in the library updates all instances. Instance-specific settings remain unique to each instance. You can add more instances at any time using the same **Add Content** modal.
## **Create NEW Content from Inside a Program**
You can create new content directly within a program or collection without going to the library first.
1. Open the program and navigate to the **Curriculum** app or **Collection** app.
2. Select or create a module if you're in the curriculum.
3. Select **Add New** or a **“+”** icon from a module.
4. Choose a content type:
* Content: Lesson, Assignment, Quiz, Survey
* Product Tasks: Complete Profile, Event RSVP, Connect Slack
* Create with AI.
5. Add a title, upload media, and use the rich text editor to build the content.
6. Upload any attachments and reorder or remove them as needed.
7. Configure settings such as prerequisite, content label, thumbnail,...
8. Select **Save**. The content is created and added to the program simultaneously.
## **Featured Media for Lesson Content**
For each Lesson Content, you have a choice of featuring a media on top of the lesson as a cover. This can be:
* An image, a video, or an audio uploaded from your device.
* An image using our branded template, generated with AI, or from Unsplash.
* A SCORM .zip file
* An embed hosted on various sources, such as: YouTube, Loom, Google Doc, Typeform, Miro, PDFs, and many more.
* A custom HTML or generic iFrame code.
Build your content in the central library first, even if you only plan to use it in one place today. Reusable content is much easier to manage at scale, you edit once and every instance stays current. Creating content directly inside a program works well for quick additions, but it's harder to find and reuse later.
## **FAQ**
Reusable content, including lessons, assignments, quizzes, surveys, and tasks, can be shared across multiple programs and collections as instances. Non-reusable content, like posts and comments, lives in one place and cannot be shared this way.
No. Edits to the root content (title, description, media) update across all instances. Settings you configure at the instance level, such as prerequisites or comment toggles, remain unique to each instance.
No. Content type is set at creation and cannot be changed afterward. If you need a different type, create a new content item.
Not yet. Each location has one template designed for its dimensions and layout. You can update your brand color in **Admin Area** → **Appearance** → **Theme** → **Primary Color**. Changing your brand color will not automatically regenerate images that were already created. But we made it easy for you to regenerate easily in each content by just clicking a button.
Disco shows an impact preview listing every instance that will be affected. Review it before confirming the deletion, as removing the root content removes it from all instances.
Yes. In the Content Library, hover over the instance count next to any content item to see a list of every program and collection where it currently appears.